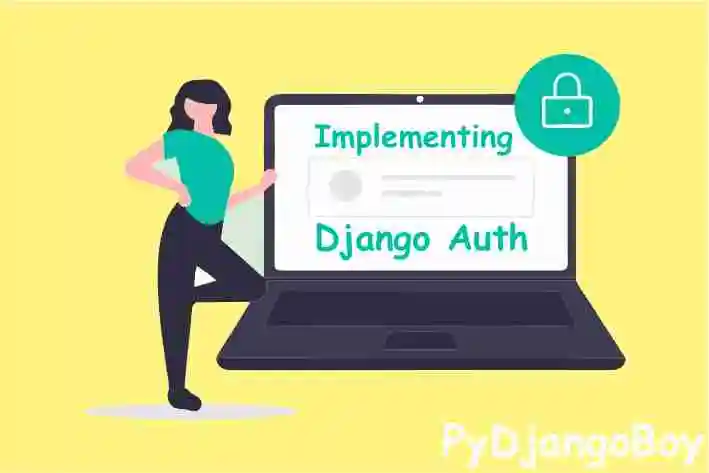
Django User Management: Setting Up a Custom User Model and Forms
This tutorial covers how to set up a custom user model and forms for user management in Django, including creating a custom user model, a signup form, a login form, and views for signup, login, and logout.

Django User Management: Setting Up a Custom User Model and Forms
This tutorial covers how to set up a custom user model and forms for user management in Django, including creating a custom user model, a signup form, a login form, and views for signup, login, and logout.
Django provides several built-in authentication views and forms that make it easy to handle user authentication. In this tutorial, we will walk through the steps of setting up user authentication in Django using the built-in authentication views and forms.
Prerequisites
- Python 3.7+
- Django 3.1+
- A Django project set up
Setting Up the Django Project
First, let's create a new Django project using the following command:
$ django-admin startproject myprojectNext, navigate to the project directory and create a new Django app:
$ cd myproject $ python manage.py startapp myappSetting Up the Django User Model
To set up the Django user model, we need to add the auth and users apps to the INSTALLED_APPS list in the settings.py file:
INSTALLED_APPS = [
    ...
    'django.contrib.auth',
    'django.contrib.contenttypes',
    'django.contrib.sessions',
    'django.contrib.messages',
    'django.contrib.staticfiles',
    'myapp.users',
]
Then, run the following command to create the necessary database migrations:
$ python manage.py makemigrations
$ python manage.py migrate
Creating a Custom User Model
By default, Django uses a User model provided by the auth app to store user information. However, we can create a custom user model by subclassing AbstractUser and setting the AUTH_USER_MODEL setting in the settings.py file:
from django.contrib.auth.models import AbstractUser
class User(AbstractUser):
    pass

AUTH_USER_MODEL = 'myapp.User'
Creating a Signup Form
To create a signup form, we need to create a form class that inherits from UserCreationForm and overrides the email field to make it required:
from django import forms
from django.contrib.auth.forms import UserCreationForm

class SignupForm(UserCreationForm):
    email = forms.EmailField(max_length=254, required=True, help_text='Required. Enter a valid email address.')

    class Meta:
        model = User
        fields = ('username', 'email', 'password1', 'password2')
Creating a Login Form
To create a login form, we need to create a form class that inherits from AuthenticationForm:
from django.contrib.auth.forms import AuthenticationForm

class LoginForm(AuthenticationForm):
    pass
Creating a Signup View
To create a signup view, we need to create a view function that uses the SignupForm form class and the signup template:
from django.shortcuts import render
def signup(request):
    if request.method == 'POST':
        form = SignupForm(request.POST)
        if form.is_valid():
            form.save()
            return redirect('login')
    else:
        form = SignupForm()
    return render(request, 'myapp/signup.html', {'form': form})
Creating a Login View
To create a login view, we need to create a view function that uses the LoginForm form class and the login template:
def login(request):
    if request.method == 'POST':
        form = LoginForm(request.POST)
        if form.is_valid():
            return redirect('home')
    else:
        form = LoginForm()
    return render(request, 'myapp/login.html', {'form': form})
Creating a Logout View
To create a logout view, we can use the built-in logout view provided by Django:
from django.contrib.auth import logout

def logout_view(request):
    logout(request)
    return redirect('login')
Creating Templates
Next, we need to create the templates for the signup, login, and logout views.
First, let's create the signup.html template:
{% extends 'base.html' %}

{% block content %}
    <h2>Sign up</h2>
    <form method="post">
        {% csrf_token %}
        {{ form.as_p }}
        <button type="submit" class="btn btn-primary">Sign up</button>
    </form>
{% endblock %}
Next, let's create the login.html template:
{% extends 'base.html' %}

{% block content %}
    <h2>Log in</h2>
    <form method="post">
        {% csrf_token %}
        {{ form.as_p }}
        <button type="submit" class="btn btn-primary">Log in</button>
    </form>
{% endblock %}
Finally, let's create a logout.html template:
{% extends 'base.html' %}

{% block content %}
    <h2>You have been logged out.</h2>
{% endblock %}
Adding URL Patterns
Finally, we need to add URL patterns for the signup, login, and logout views in the urls.py file:f
rom django.urls import path
from . import views

urlpatterns = [
    path('signup/', views.signup, name='signup'),
    path('login/', views.login, name='login'),
    path('logout/', views.logout_view, name='logout'),
]
Conclusion:
In this tutorial, we walked through the steps of setting up user authentication in Django using the built-in authentication views and forms. We created custom user and authentication forms, and defined view functions for signup, login, and logout. We also created templates for each of these views and added the corresponding URL patterns.
With these steps, you should now have a basic user authentication system set up in your Django project. You can further customize the system by adding additional fields to the user model, adding password reset functionality, and implementing other authentication methods such as social media login.

DigitalOcean Sign Up : If you don't have a DigitalOcean account yet, you can sign up using the link below and receive $200 credit for 60 days to get started: Start your free trial with a $200 credit for 60 days link below: Get $200 free credit on DigitalOcean ( Note: This is a referral link, meaning both you and I will get credit.)
Latest From PyDjangoBoy
👩💻🔍 Explore Python, Django, Django-Rest, PySpark, web 🌐 & big data 📊. Enjoy coding! 🚀📚